“Defect” Hoodie
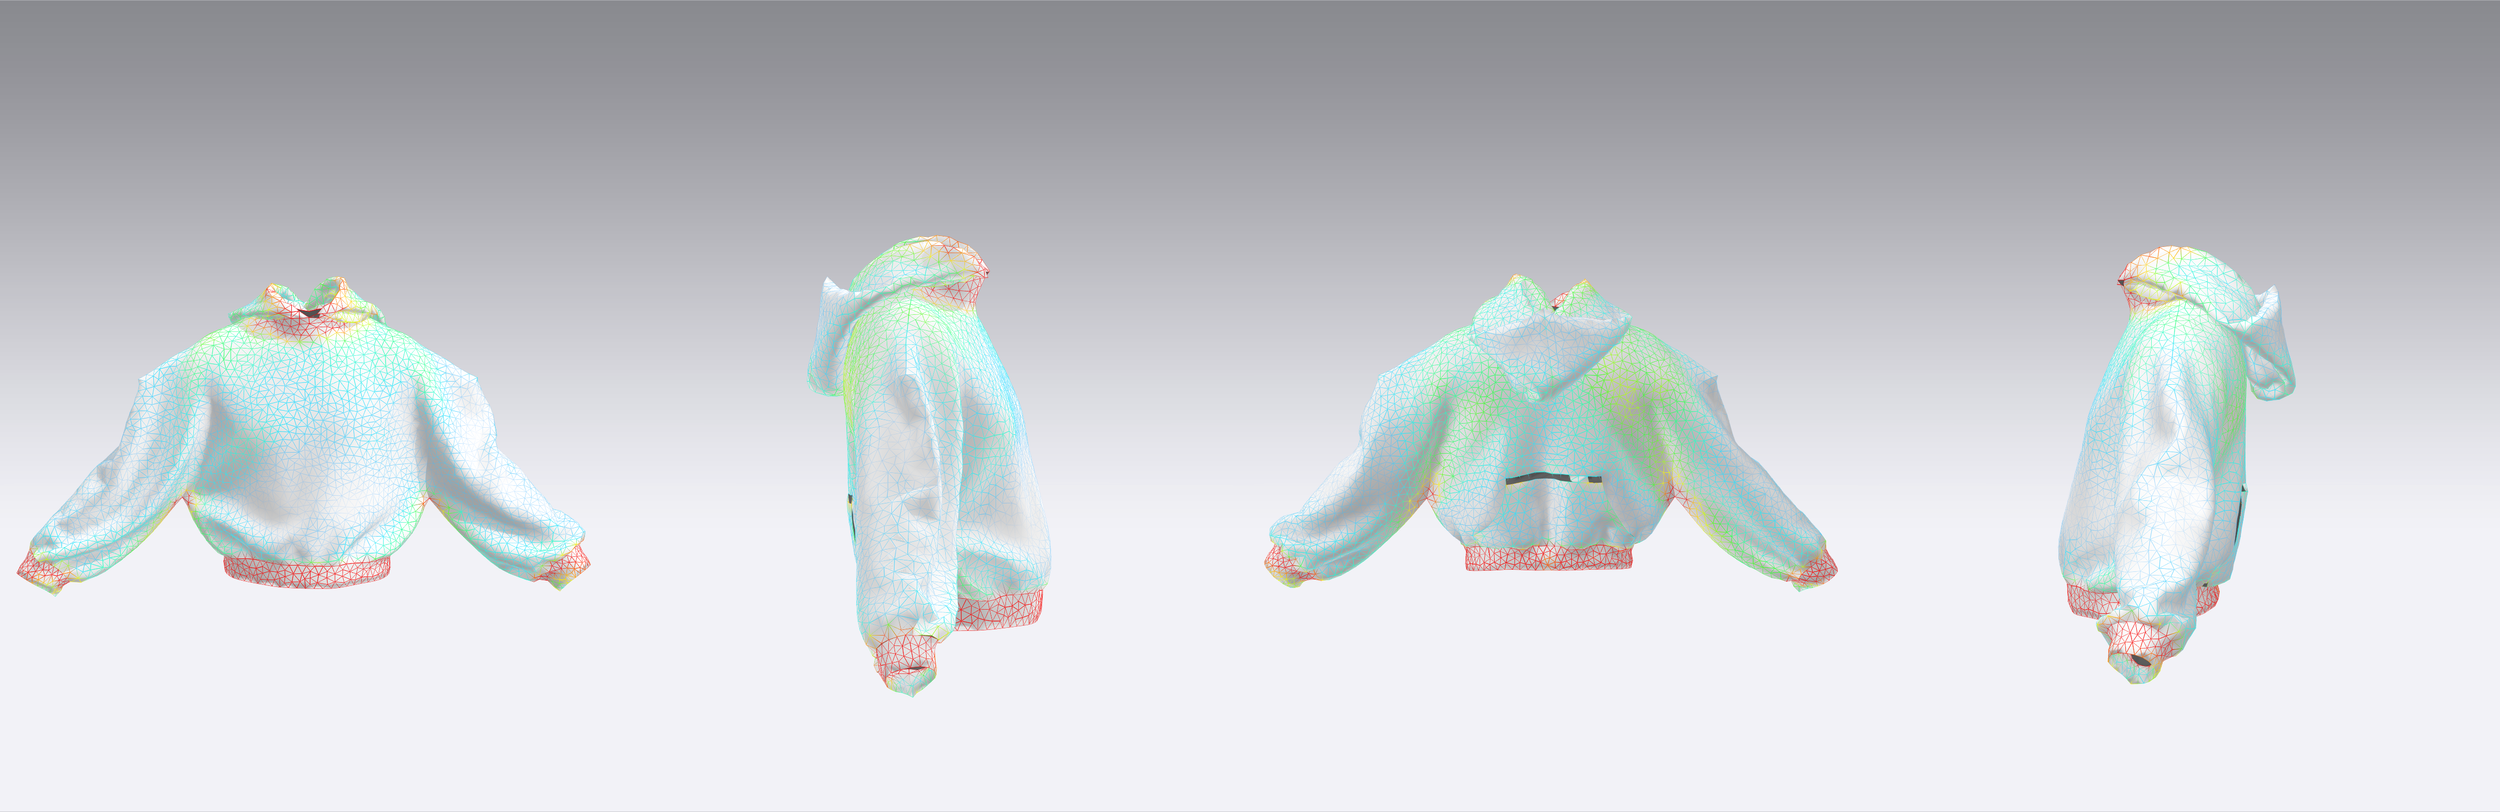
(Nov. 2025) This garment marks my second completed project using Clo3D, my first time designing any outerwear, as well as my first project working without any references for measurements. I wanted to see how difficult it would be to use the croqui provided in the 2D pattern window and how accurate the size of the patterns would be in 3D, and it turns out that it was more accurate than I expected. I also wanted to utilize features I hadn’t before like the fabric creator and the mapping to try an add an effect to the garment to make it look as realistic as possible. Overall, I am pleased with this project and feel confident in my ability to use this program as well as look forward to continue learning more about the features Clo3D has.
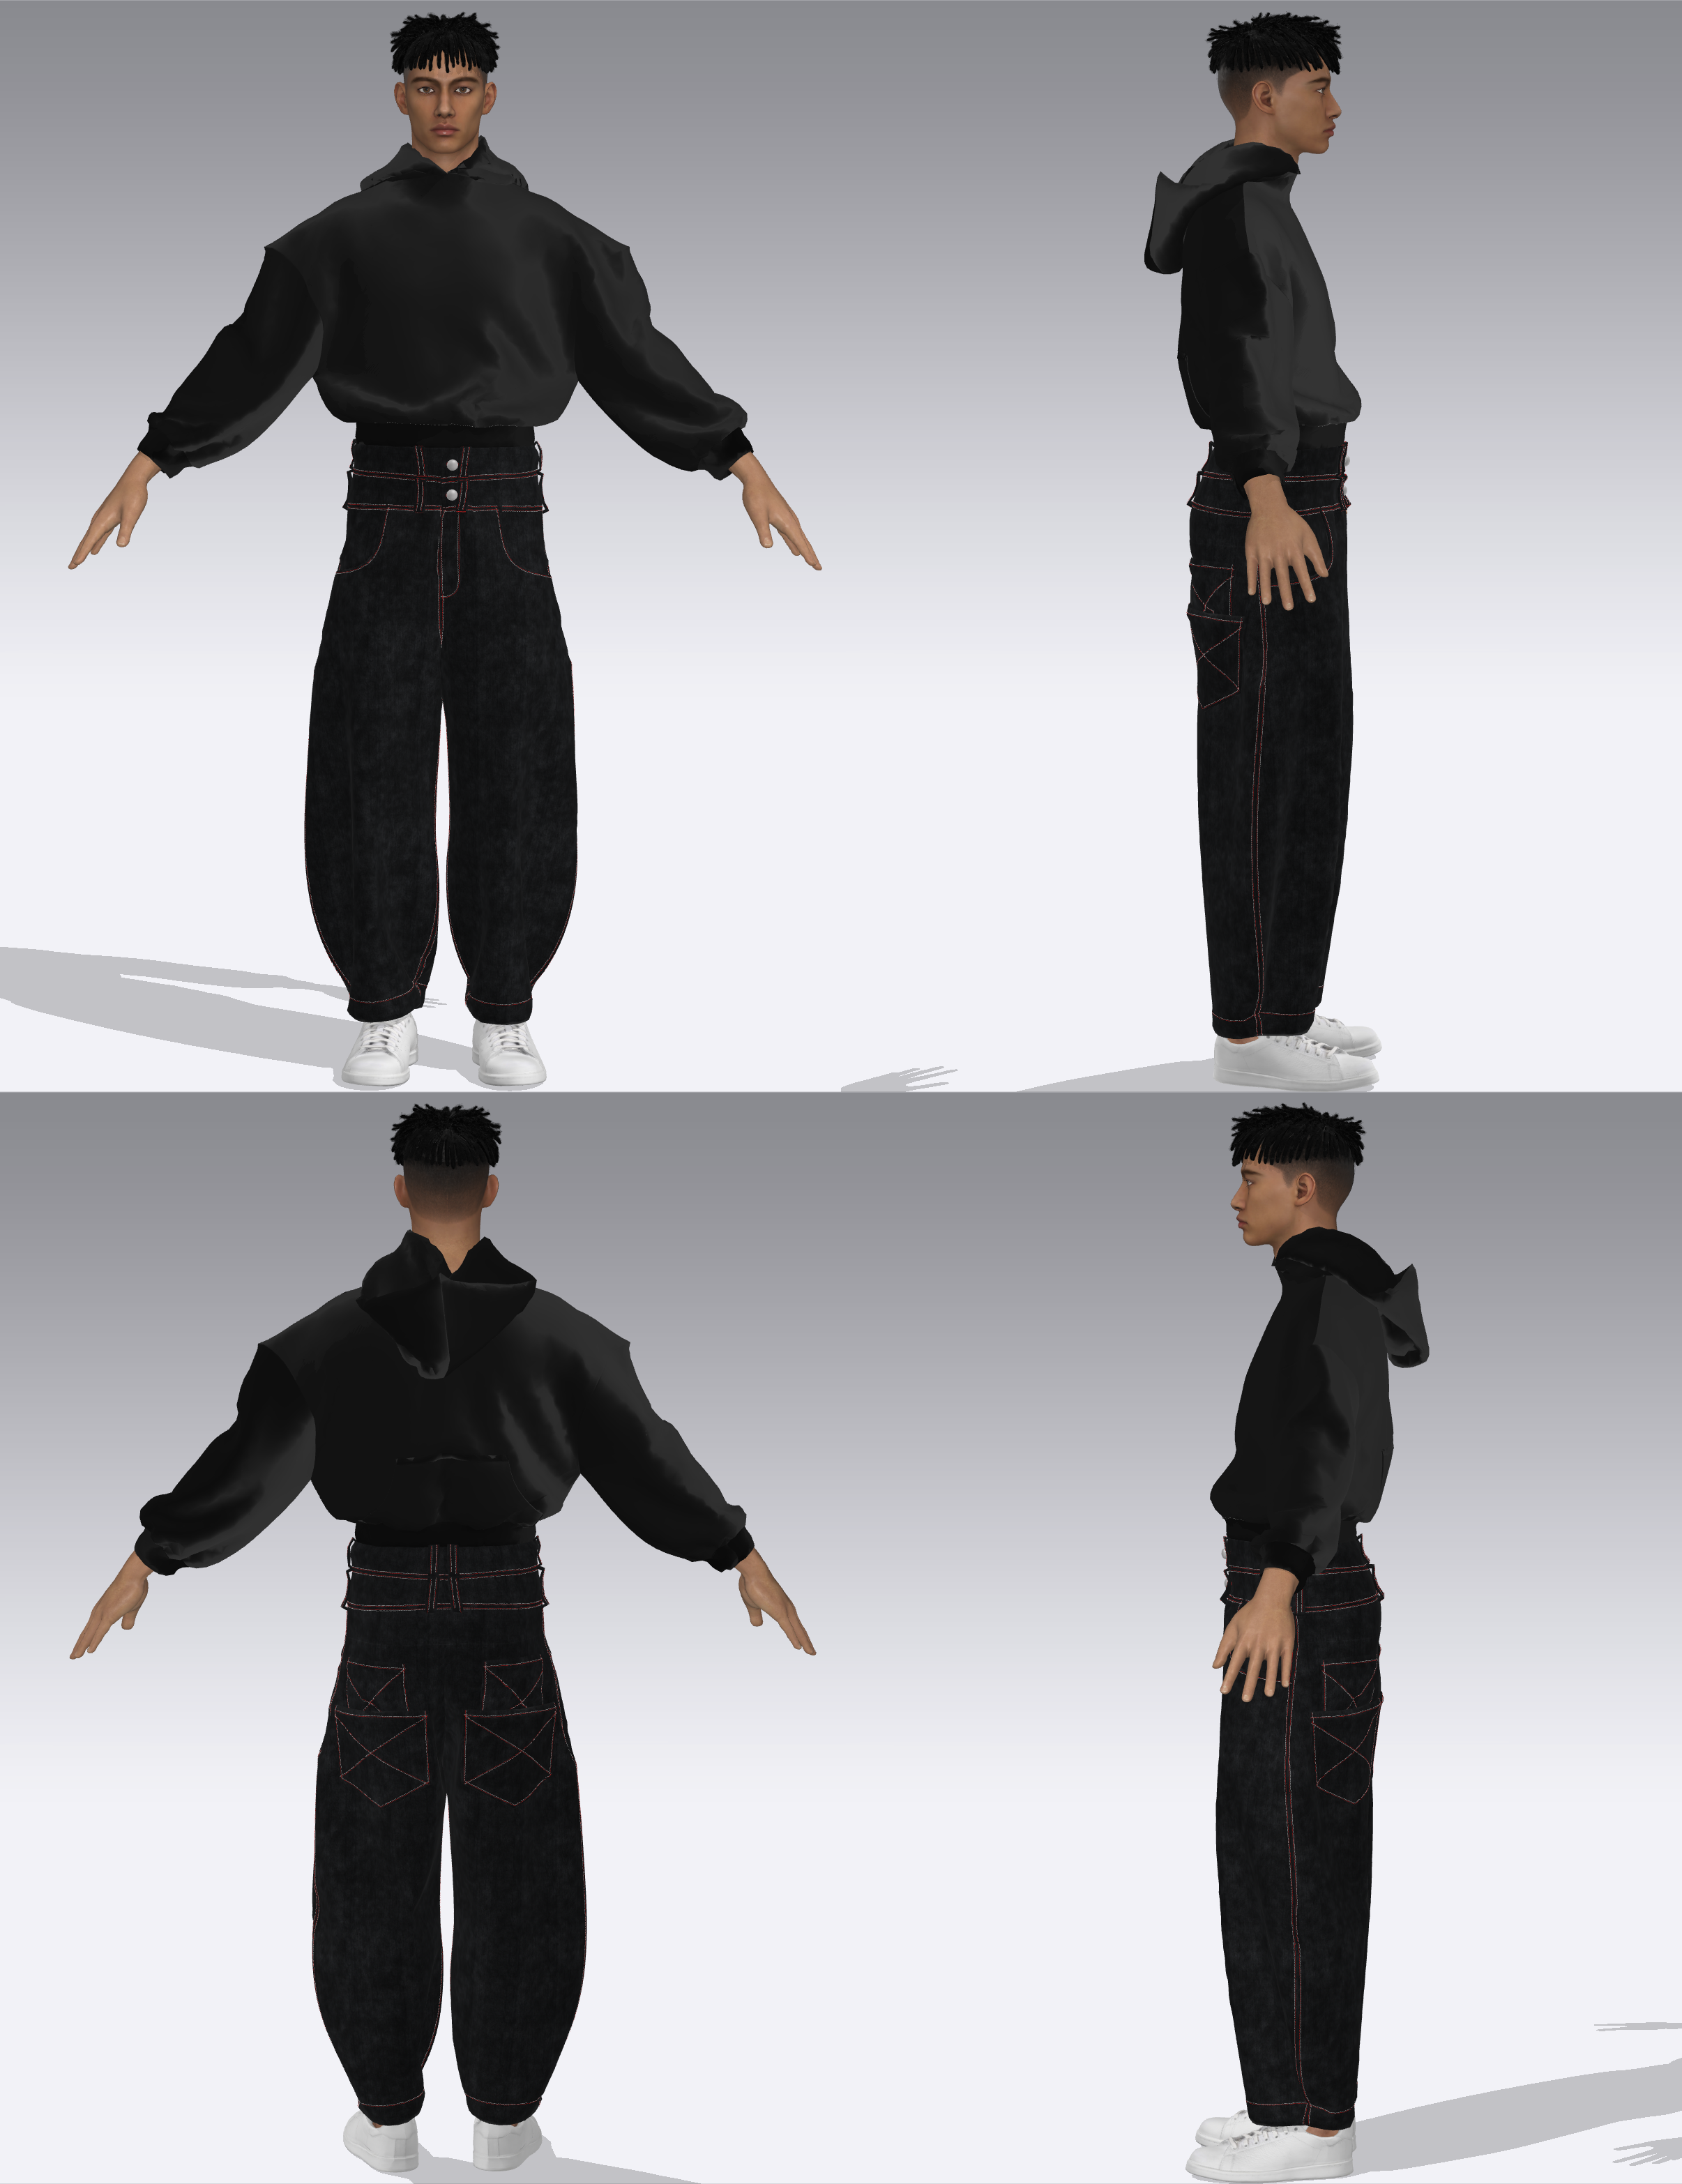
The design of this hoodie is directly inspired by a defective hoodie I bought a few years ago. I tried my best to stay true to the concept of a defective garment as well as the original reference design itself. When I initially bought the hoodie, I thought that the front pocket was put on the back. After wearing it and inspecting what was wrong with it, I figured out that the hoodie was actually the piece that was put on backwards. I included this detail in the design of the garment because it is the feature that attracts the most attention to people who don’t pay attention to garment construction, but to someone who does they would notice that the neckline rises higher in the front and drops lower in the back. These were the main details I kept true to the defective hoodie I bought originally.
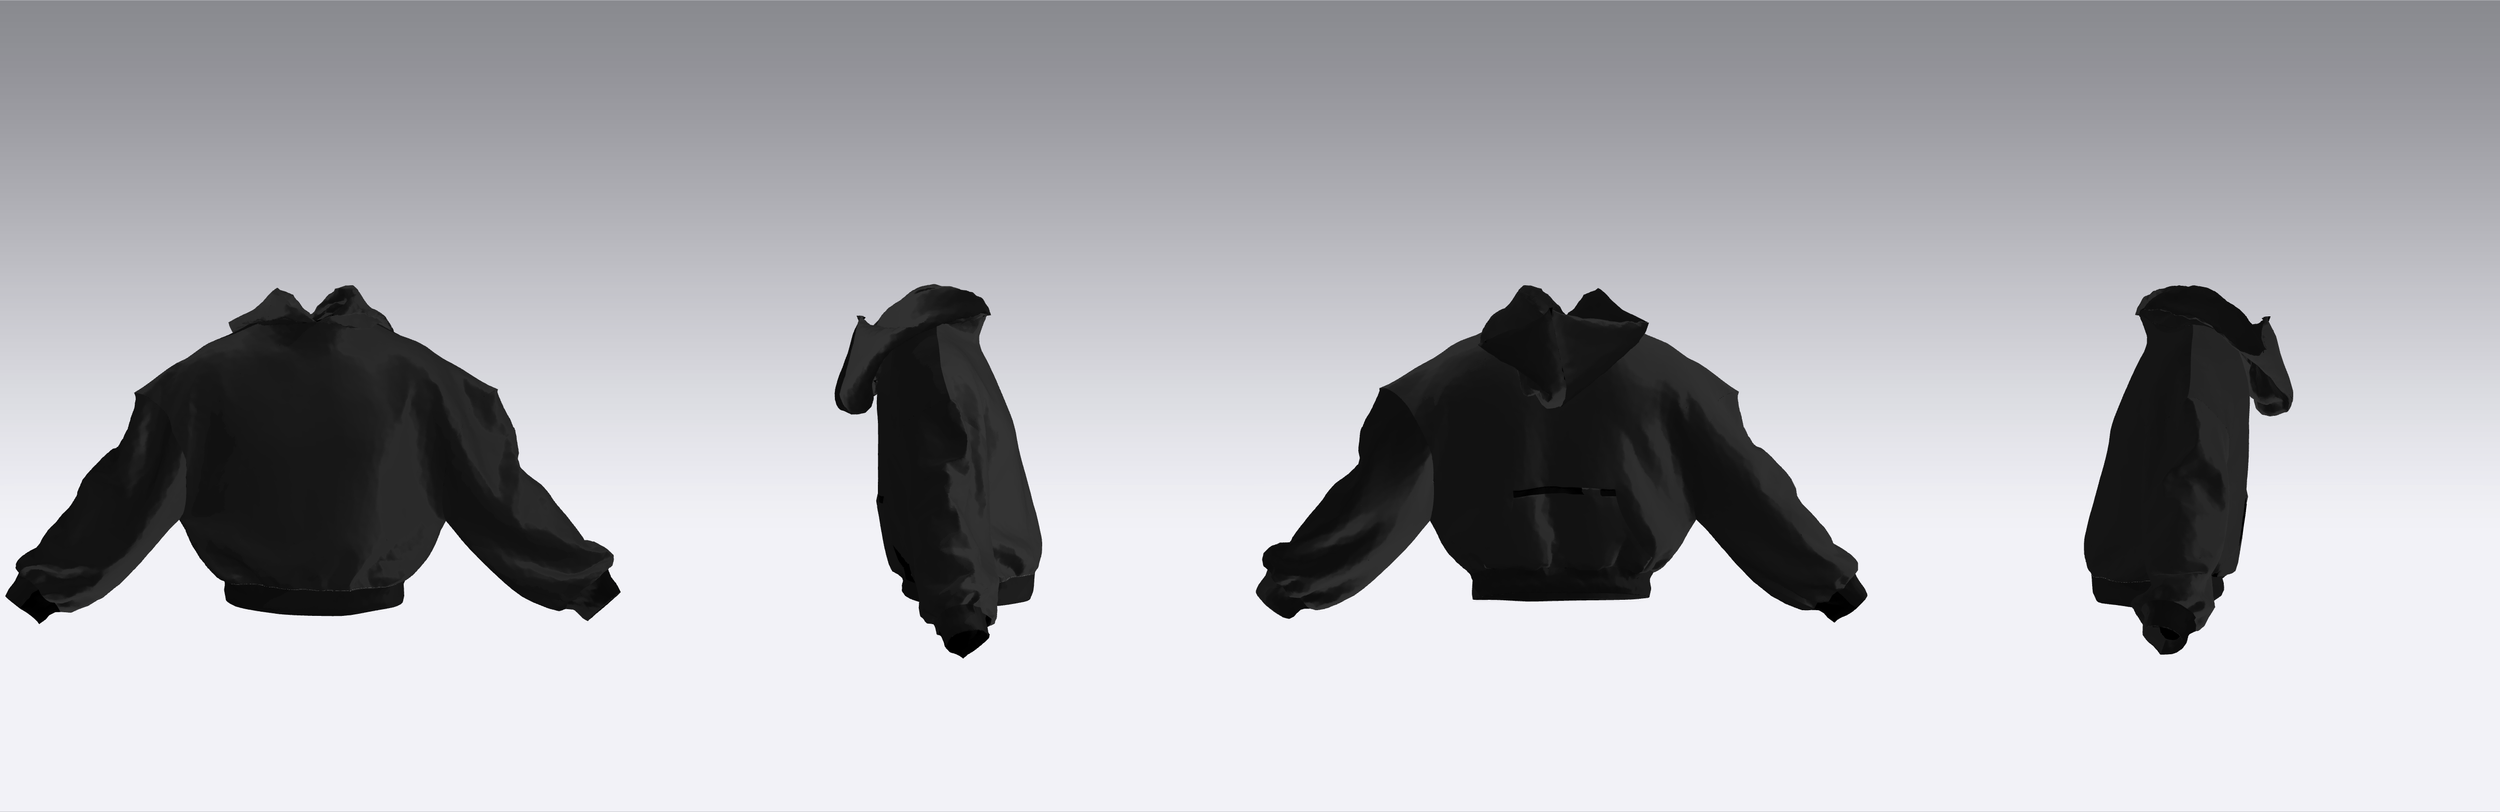
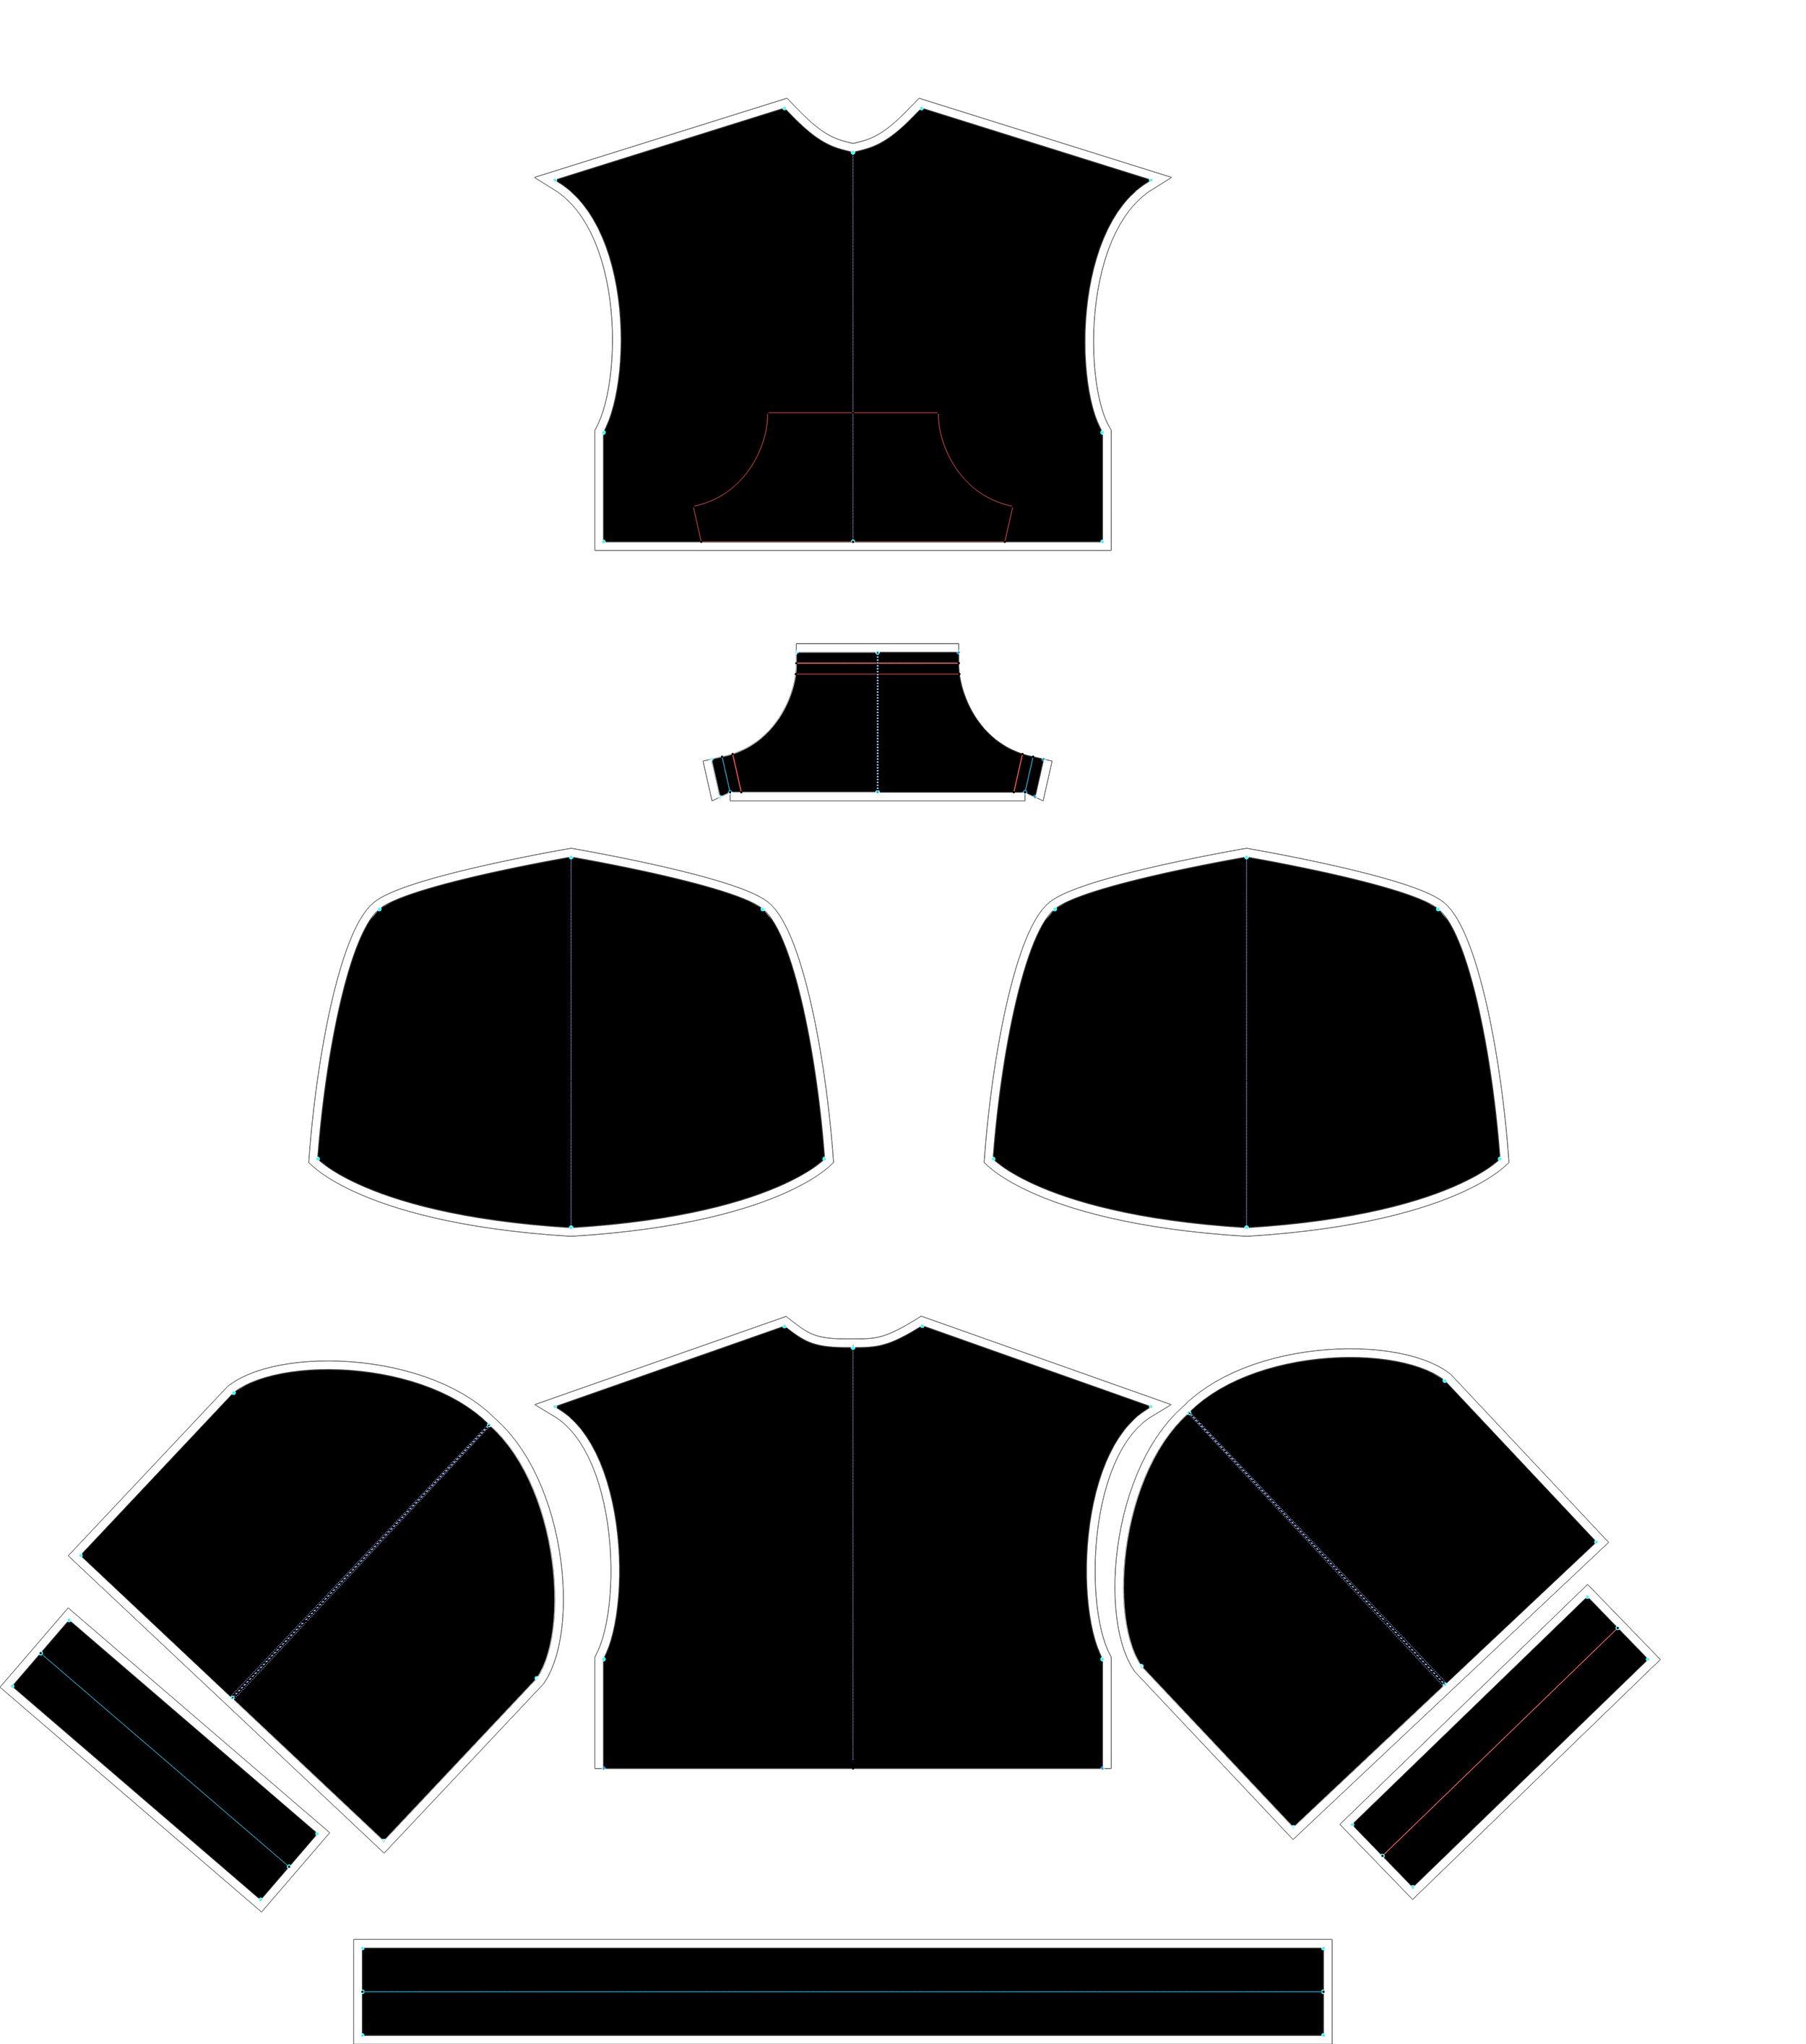
The first thing I changed from the original hoodie was the fabric itself. The original hoodie was made from a plain, black fleece material. Over time, I just kept washing it until it got a faded black look and so that was ultimately the look that I intended to go for with this design. The next change that I made to the original design was the fit of the garment. The original hoodie was baggy because I prefer my hoodies to be oversized so I sized up. I kept the oversized, baggy look but made my own change by making the shoulders an overly exaggerated drop shoulder look to make it look even baggier without changing the size of every other part of the garment. I also dropped the bottom of the armhole lower to help contribute to the exaggerated baggy look. Since the shoulder came down lower than the original, I didn’t have to make the sleeves as long as the original. I’m not sure if the original design had a bicep curve in the sleeve, but when making my sleeve I took out any curves that weren’t the armhole to make the sleeve as baggy as possible. For the body of the garment, I wanted to keep the original baggy fit, but I also wanted to incorporate a boxy fit that sits at the waist of the wearer. The most major change that I believe I made to the garment was how the ribbing functions. The original hoodie had ribbing but it wasn’t as close to the body as my design. I personally like when the ribbing is close to my body because I think it allows for the garment to get a pucker around the seams and possibly drape over the ribbing, so I wanted to incorporate that into the look as well. And finally for the hood, I stuck to the original design and made a double layered hoodie.
Overall, I am very very pleased with how this turned out and plan on having it be the first garment I make a sample for. Something that I would like to explore with this garment is I would like to see if there is a way for me to add interior pockets on the side seams. The short length makes it a challenge, but I think that if I rework the size of the armhole it would be possible.